Showing posts with label holidays. Show all posts

Wednesday, January 16, 2013

Christmas Blessings

  Whew!  The holidays are over, and as much as I absolutely loved time with family and seeing good friends its good to be back home and start getting back into a semi-normal schedule.  This past Christmas was so fun, and every year I am completely overwhelmed with how blessed I am.  I have the most amazing family and in-laws!  At both our family's houses it is so much fun being together, even if we aren't doing anything!  Catching up together, playing games and sharing a table filled with delicious food are just a few of the things that fill up our holidays and and the moments I cherish so dearly.  The Lord has showered His blessings on my family and I am so aware and thankful for that.  Here are a few pictures that capture these blessings....


Thursday, January 10, 2013

Snowmen Cupcakes II

Snowmen Cupcakes II
Here's a second option for the loved snowmen cupcakes!


Tuesday, December 11, 2012

Inexpensive Christmas Cards

   Last year I discovered an easy way to create a Christmas card without breaking the bank.  I was on Shutterfly messing around with their editing and discovered a massive stockpile of borders that you can put on your photos (for no additional cost.)  At first this seemed almost silly because when in the world would I ever want to put a border on a picture, BUT as I was successfully wasting time dorking up my pictures with crazy borders I hit the jackpot!  They have Christmas and holiday borders!  Now, just to warn you, some of them are very old-fashioned and un-usuable, but there are a handful of borders that are super cute and are perfect for creating your own Christmas cards.  Once you digitally put the border on your photo and save it you can order $.14 prints like any other 4x7 picture.  That is saving you about $.80 a card and believe me that can add up!   (Also remember once you are done editing your picture with a border and save it, it is like any other picture you would have on your computer so you can order it from anywhere else that might be cheaper than $.14 a print.  You don't have to order it from Shutterfly.) This is the border I picked for last years Christmas card:


   How cute is that?! Here's how you do it.
1.  You have to have an account with Shutterfly and have the photo you want to use uploaded to one of your albums.  Select the photo you want to use and click the edit button in the top left corner of the photo.  On the scroll down menu select "apply border"


 2.  It will take you to a screen that looks like this, with the "no border" already selected.  You will want to click on the "choose a style" menu bar and scroll all the way to the bottom and select "more."


3.  It will take you to a screen that looks like this.  This is where are the borders are, so you can scroll down and look through them all.  They have them in categories, so if you are looking to do a Christmas card you can stick to the "holiday" or "Christmas" type categories.


4.  Click on a border you want to preview and it will apply the border to your photo.  I found this one that I absolutely loved, I hope you find one you love too!


5.  Once you've picked your border, save your picture.  And now you have yourself an inexpensive cute Christmas card!  I ended up glueing a Bible verse I printed out on the back and sticking the cards in homemade Christmas envelopes.  It was a fun project that allowed me to send some Christmas love without spending too much money.

I'd love to see how yours turned out!  Happy crafting and Merry Christmas!

Friday, November 30, 2012

Melting Snowmen Cupcakes

Melting Snowmen Cupcakes
Bring some laughter to any Christmas party with these hilarious melting snowmen cupcakes!


Wednesday, November 21, 2012

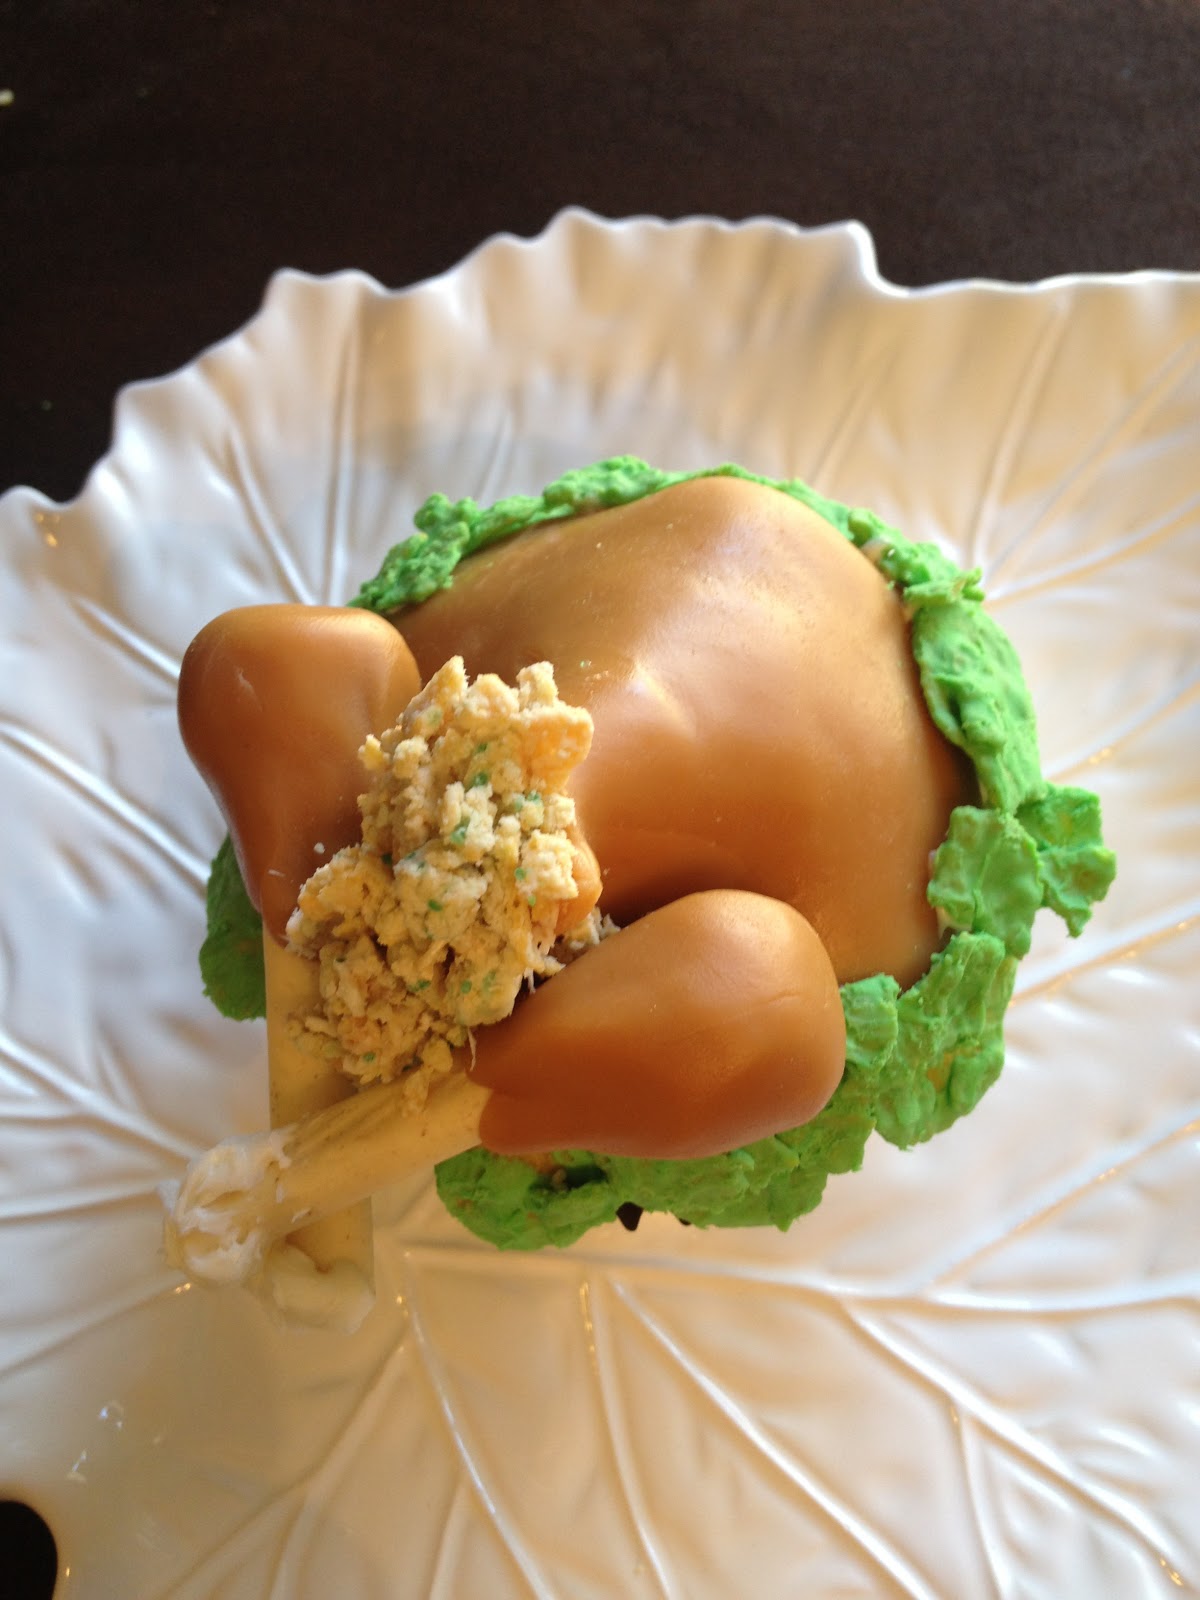
Thanksgiving Turkeys

Thanksgiving Turkey Cupcakes
You're sure to be the favorite guest at any Thanksgiving feast when you extend the turkey eating through dessert!  These cupcakes are so cute they are sure to be talked about for years to come!


Tuesday, November 20, 2012

Personal-Size Pumpkin Pies

   Holidays= tons of reasons to bake goodies and lots of people to pass them off to:) This makes me happy, happy because 1. I love to bake and 2. my sweet treats are appreciated and eaten up by neighbors/strangers/kids who at any other time of the year would have suspiciously thought I was trying to poison them because "what kinda crazy lady just gives out free desserts."
   Soooooo- in honor of Thanksgiving and Autumn and Leaves and Pumpkins and yummy tasting things- I present my latest creation:
Personal-Size Pumpkin Pies!

   Yes, they are darling aren't they?  I am pretty impressed with the outcome.  I saw a post on Bakerella's Blog for pumpkin pie bites, which I thought were so cute.  However, the crust is my favorite part of a pie, so I wanted to make some pies with the top crust.  Not just any top crust though, I wanted leaves.  Why?  Because I'm a sucker for leaves (no really, I love them!) and they are festively appropriate for Thanksgiving dinner on Thursday!  
   I followed Bakerella's recipe, just made them in a regular cupcake pan rather than a mini-cupcake pan.  I just cut out circles for the bottom crust (not pumpkin shaped like she does) and then used leaf cookie cutters(Maple Leaf Cookie Cutter (Google Affiliate Ad)) to do the leaf crust on top.  Then I baked them in the oven for 20-25 minutes at 350.
   Here are some pictures of the process and the finished product:


   Happy Thanksgiving everyone!